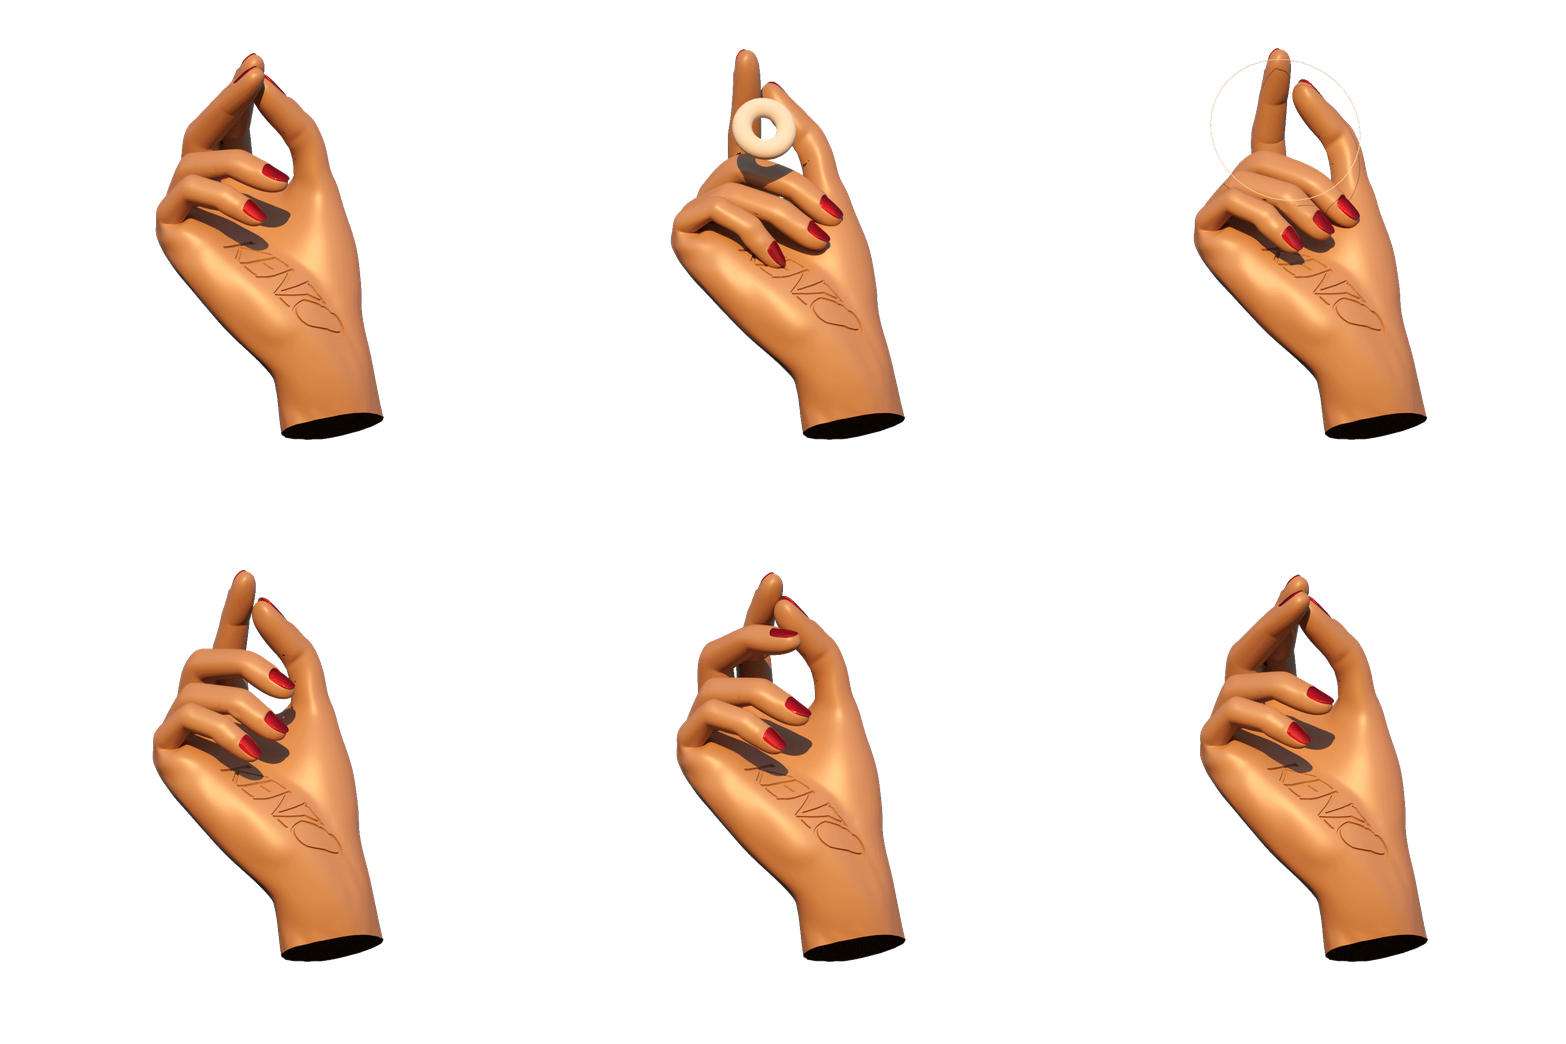
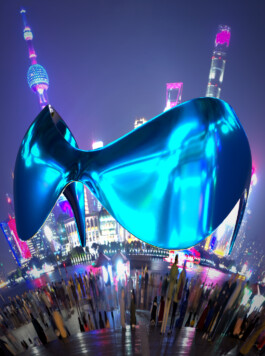
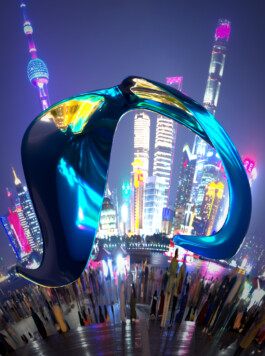
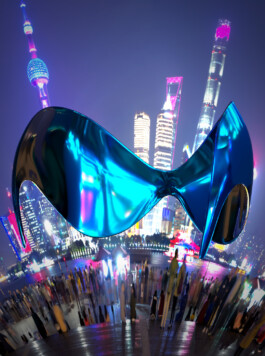
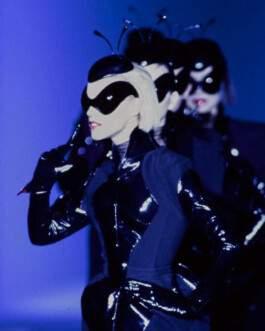
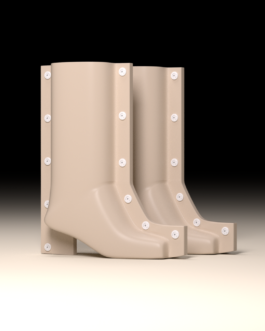
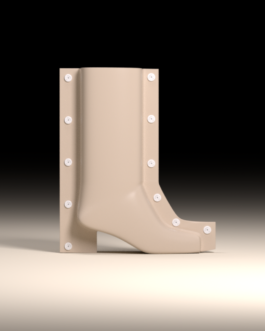
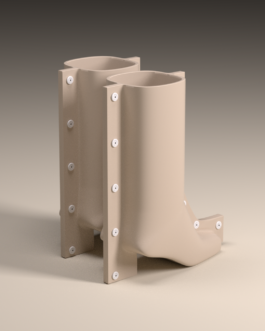
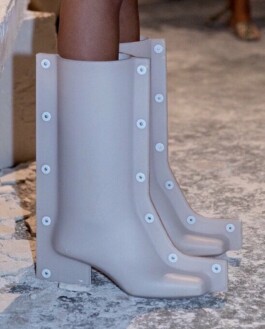
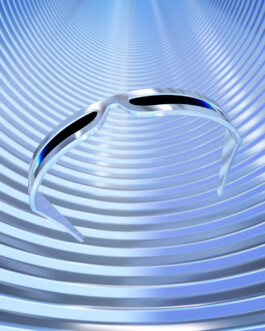
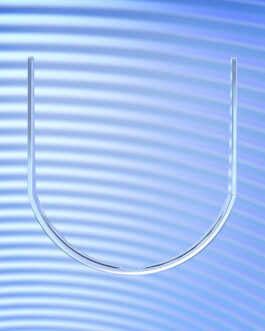
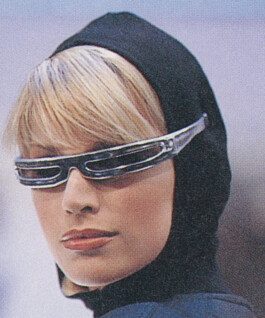
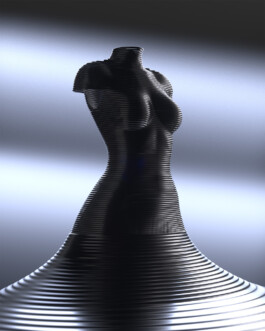
Between 2018 and 2020 I worked with Kenzo's art department on various visuals for their website and social media channels. Whether they needed assets as simple as animated "stickers" or more impactful teasers for the upcoming shows, I'd create these with them. Altogether we worked on approximately 20 different projects, find a selection of these joyful visuals below.
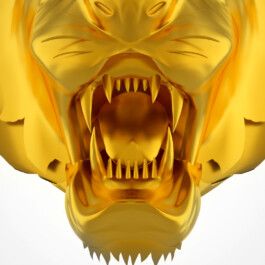
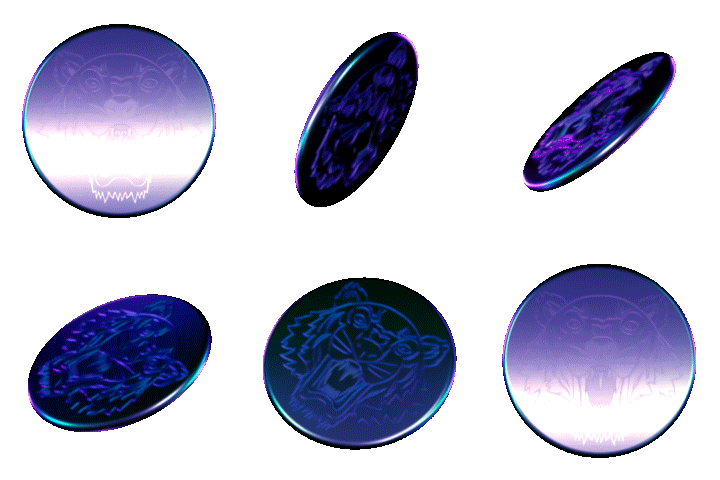
One of the projects I worked on was a request to turn the House famous tiger illustration into a 3D modelized object. In order to make this happen quickly I took an existing 3D model and tailor-modified it until it matched the drawing. After animation & render process, the team could use it in videos for their social media.
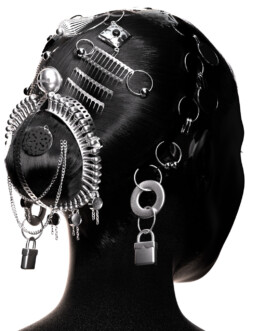
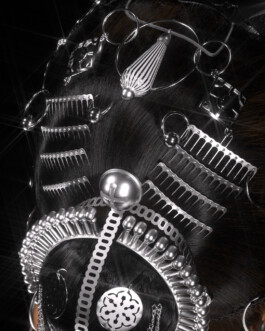
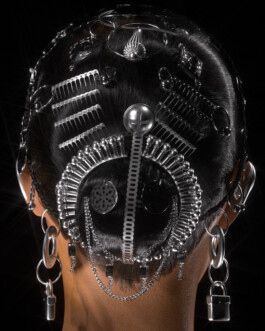
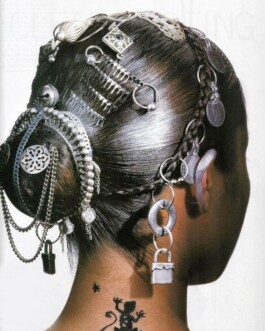
To announce Kenzo SS19 show, I was asked to create teasers using traditional hachimakis to display information about the event. These were used mainly accross the brand's social accounts.
The Everything is a light-hearted drama about a family of teenagers with unusual powers that bring them together & features KENZO’s Fall-Winter 2018 collections. To promote the film, I was asked to create a series of GIFS available for anyone to play with on social media.
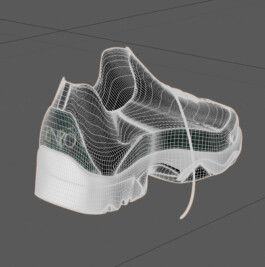
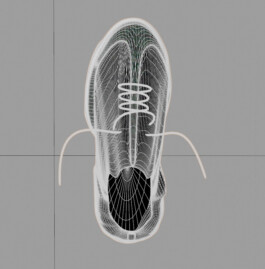
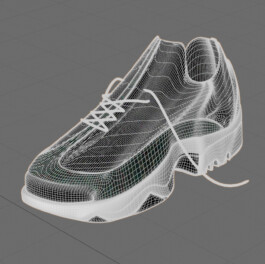
One of the FW18 collection's most recognizable piece was the sneaker, named "The Sonic". I modelized it from photos, animated it and turned it into a GIF.
For each new store opening around the world, I was asked to create an animation promoting its opening date.
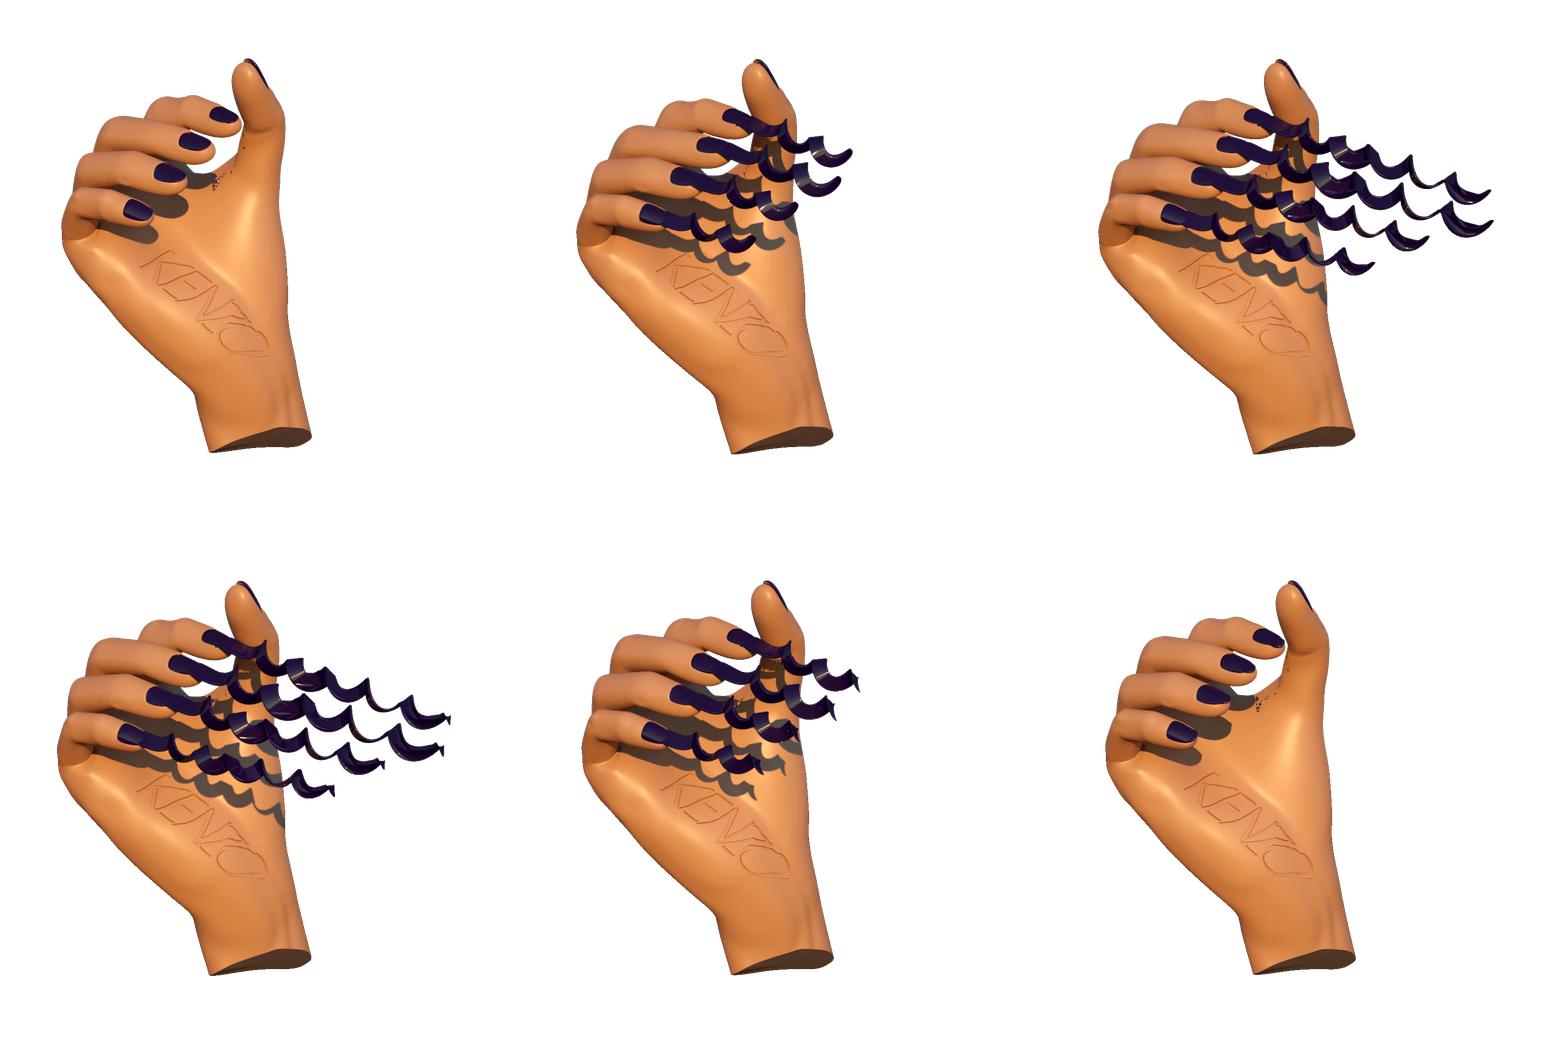
To announce Kenzo SS20 show, I was asked to create teasers using a beach towel displaying information about the event. These were used across the brand's social channels.
To match with Kenzo's 2019 capsule collection, the brand requested a set of 3D titles and a series of GIFS, all going with a starry vibe. Typeface designed by Hadrien Herzog.
I started by setting the heart spline as a particle emitter in Realflow for Cinema4D. By tweaking the parameters, I could give the emitter a linear direction and give the birthrate a slow pace so it would emit only once every second approximately (60 pulsations per minute).
I realized I needed two simulations to be composited later, one center part and one outer part. For the center part, I set a positive attractor further from the source so the particles would come closer to the center with the camera facing the ground. For the outer part, I set a negative attractor so it would push the particles away from the source, camera facing downwards. I rendered both of these simulations with a reflective material and a studio HDRi.
For the composit part, I imported the renders in After Effects and applied the "Displacer Pro" plugin from Plugin Everything. At this point, I'm playing intensely with the parameters to find a sweet looking spot. Once it was looking good enough, I animated the displacement offset, map softness and scale parameters to give the animation a start, a middle and an end.